 ultimate-guide
The Importance of Surface Prep for Painting: A Homeowner's Guide
Last Updated: October 30, 2026
Quick Summary
Surface prep is the process of cleaning, repairing, and profiling a substrate so paint can bond to it. Skipping it causes peeling, cracking, blistering, and flaking, usually within the first couple of years, because contaminants, moisture, and loose material break the bond before the first coat cures.
- Preparation follows a fixed order: cleaning before scraping, scraping before sanding, sanding before priming.
- Sanding creates a profile the coating can grip, so it is not optional on previously coated exteriors.
- Bare wood, patched areas, and spots sanded to the substrate always need primer.
- Give a washed exterior a full day of dry weather before painting, and longer in humid conditions.
- Treat any pre-1978 coating as suspect until tested and follow federal lead-safe work practices.
Table of Contents
- Why Surface Prep Decides How Long Your Paint Lasts
- How to Prep a Surface Before Painting: A Step-by-Step Walkthrough
- Sanding Before Painting: Smoothing Imperfections and Creating a Bondable Surface
- Primer After Surface Preparation: When and Why It Matters
- How Long to Wait After Washing Before Painting
- Surface-Specific Preparation for Wood, Stucco, Concrete, and Metal
- Safety, Dust Control, and Handling Hazardous Old Coatings
- How to Verify Your Surface Is Ready to Paint
- Your Next Step Toward a Finish That Lasts
- Frequently Asked Questions
Why Surface Prep Decides How Long Your Paint Lasts
Paint does not fail because the coating was cheap. It fails because the surface underneath was not ready to hold it.
Surface preparation is the process of cleaning, repairing, and profiling a substrate so a coating can bond to it.
The consequences show up as peeling, cracking, blistering, and flaking, usually within the first couple of years. Repainting over a failing surface buries the problem under a fresh layer that will let go the same way.
How to Prep a Surface Before Painting: A Step-by-Step Walkthrough
Preparation follows a fixed order: cleaning before scraping, scraping before sanding, sanding before priming. Reverse any step and you re-contaminate a surface you already cleaned or sand grit into a repair you just made.
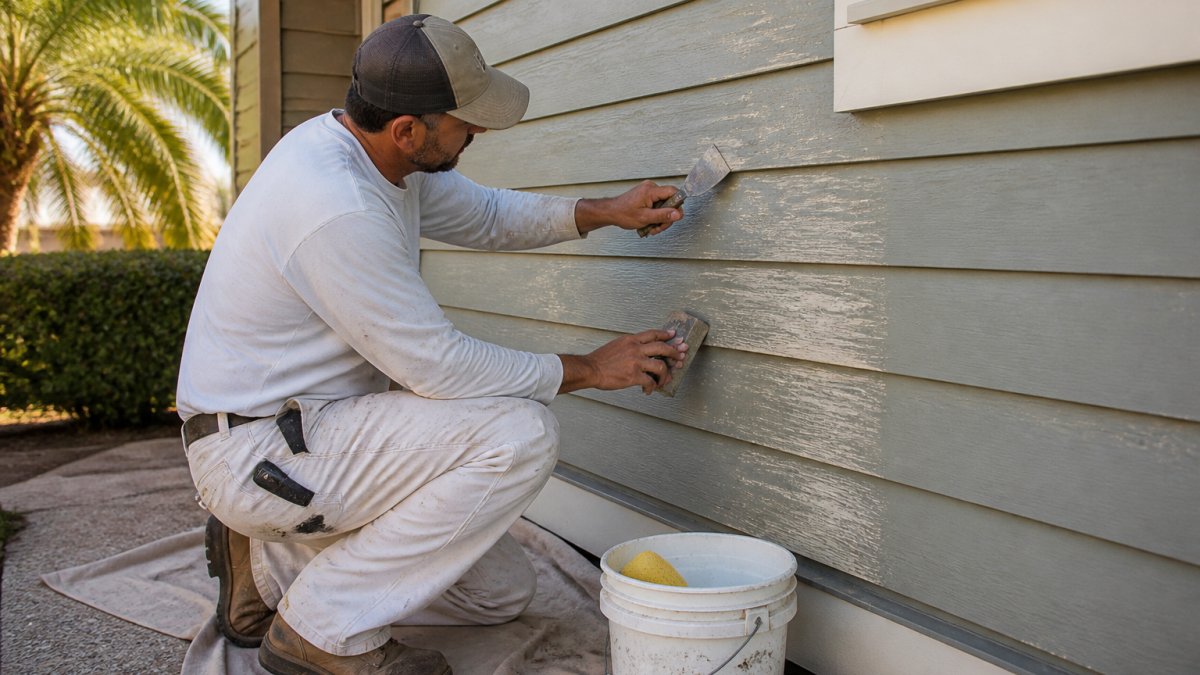
Here is the sequence we follow on every exterior:
- Inspect the full surface in daylight and mark every defect
- Wash to remove dirt, dust, grease, and chalky residue
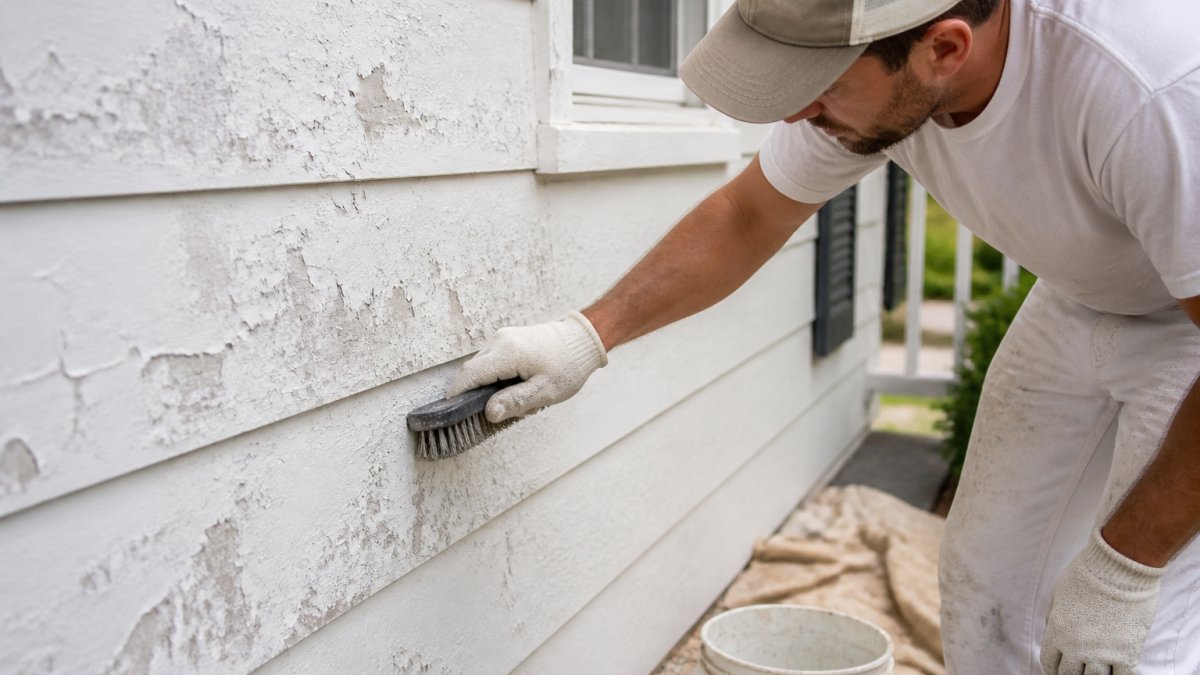
- Scrape and remove loose or failing paint and old coatings
- Repair holes, cracks, and damaged areas
- Sand to smooth imperfections and open the surface profile
- Re-clean the dust you generated
- Prime bare and repaired areas
- Apply the topcoat within the product's recoat window
Sanding leaves fine dust packed into the profile you just created, and primer cannot bond to dust. Blow it off, wipe it down, and let it dry before you prime.
Inspect and Repair Holes, Cracks, and Surface Damage
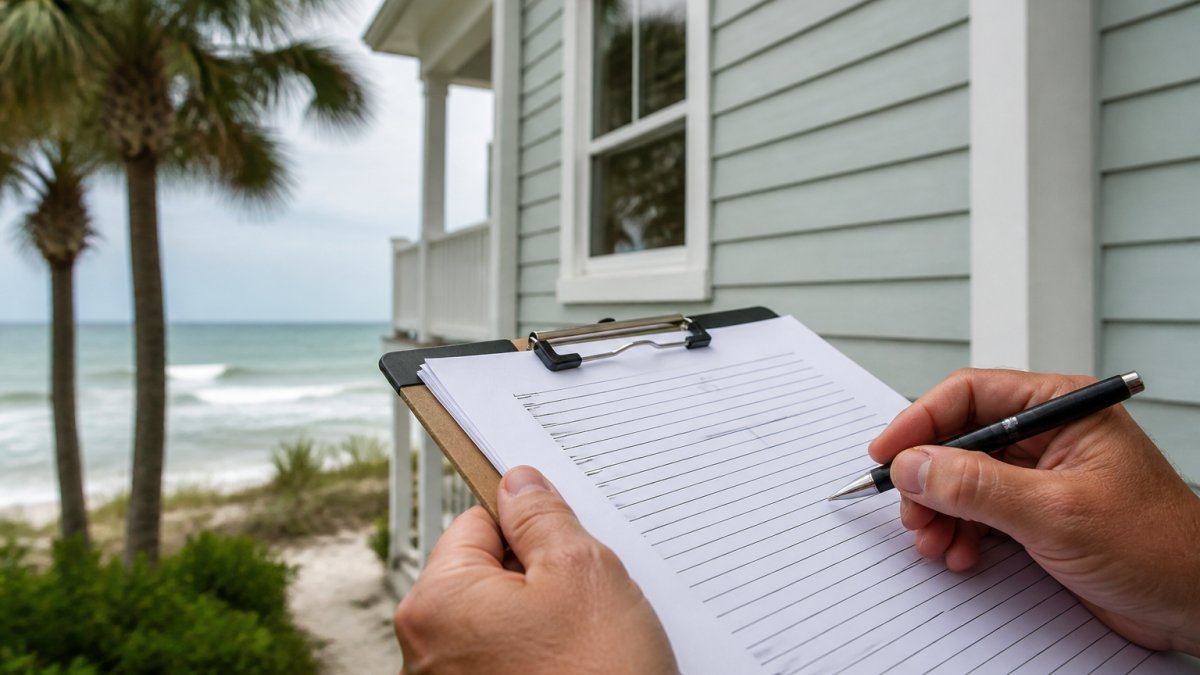
Walk the surface with a bright light at a low angle, because raking light exposes dips and hairline cracks that flat light hides. Probe soft spots with a screwdriver handle; if the wood gives, the damage runs deeper than the paint line. Fill holes and cracks with an exterior-rated patching compound, feather the edges, and cure fully before sanding. Never paint over wet patch.
Clean Dirt, Dust, Grease, and Other Contaminants
Wash from the top down with a mild detergent solution and rinse thoroughly. Grease, oil, and chalky oxidation are the three contaminants that quietly kill adhesion, and each needs its own approach: a degreaser for oil, plain washing for chalk, and a stiff brush for embedded dirt. Rinse until the water sheets evenly rather than beading, which tells you the surface is clean and no residue remains.
Sanding Before Painting: Smoothing Imperfections and Creating a Bondable Surface
Sanding does two jobs at once, and most people only think about the first. It smooths surface imperfections, but more importantly it abrades the substrate to create a profile the coating can grip. A glossy or slick surface gives paint nothing to hold, which is why sanding before painting is not optional on previously coated exteriors.
Match the grit to the job: a coarser paper to knock down ridges and old paint edges, a medium paper to feather repairs, and a finer paper to scuff a sound existing coat and blend transitions.
Tool choice matters as much as grit. A sanding block gives flat control on trim and flat stock; a random-orbit sander speeds up large areas but can leave swirl marks that show through a gloss topcoat; a detail sander or hand block reaches profiles and edges a power tool cannot.
Watch for three common failure modes. Sanding through to bare wood in one spot while leaving paint everywhere else creates a visible halo under the topcoat, feather those transitions before priming. Sanding across the grain leaves scratches the topcoat will not hide. Sanding a repair before the patching compound has fully cured clogs the paper and leaves a soft surface that will fail under the film.
Primer After Surface Preparation: When and Why It Matters
Primer after surface preparation turns a clean surface into a sealed, uniform one. For help pairing a primer with a topcoat that holds up in humid coastal conditions, see this guide to the best exterior paint for Florida humidity.
You can skip primer only where the existing coating is sound, clean, and compatible with the new topcoat, and the product data sheet says so. Everywhere else, prime.
How Long to Wait After Washing Before Painting
Wait until the surface is fully dry, not merely dry to the touch. As a working rule, give a washed exterior a full day of dry weather before painting, and longer in humid or shaded conditions.
Test before you commit. Press a dry paper towel against the surface in a shaded area; if it picks up dampness, wait. Check the product data sheet for the coating's maximum moisture tolerance, and never paint over dew, recent rain, or a surface still cool and clammy from the night.
Surface-Specific Preparation for Wood, Stucco, Concrete, and Metal
Different substrates fail in different ways, so preparation has to change with the material. Treating every surface the same is how repaints go wrong. The table below is the quick reference; the subsections after it explain the procedure and the failure mode behind each row.
| Substrate | Key Prep Steps | Common Failure If Skipped |
|---|---|---|
| Wood | Scrape loose paint, sand with the grain, prime bare spots and knots | Peeling and tannin bleed |
| Stucco | Patch cracks, wash texture, prime porous areas | Blistering and hairline cracking |
| Concrete | Degrease, etch or abrade, fill voids, check pH | Adhesion failure and flaking |
| Metal | Remove rust, degrease, apply rust-inhibitive primer | Rust creep under the film |
Wood Siding and Trim
Wood moves with moisture, so preparation has to leave room for that movement. Scrape loose paint back to a firm edge, sand with the grain using a flat block, and feather every transition so the repair does not telegraph through the topcoat. Knots and cedar or redwood bleed tannins that stain a light topcoat, so they need a stain-blocking primer.
Stucco
Stucco is porous and its texture traps dust, pollen, and chalky residue a quick rinse will not release. Wash with a mild detergent and a stiff brush, rinse from the top down, and let the wall dry fully. Patch cracks with a stucco-compatible material, feather the edges, and cure before sanding. Prime porous areas deliberately rather than relying on the topcoat to fill.
Concrete
Concrete needs a profile and a neutral surface before any coating will bond. Degrease first, because form oils and vehicle drips are invisible until the paint lets go. Then etch or abrade to open the surface, fill voids and bug holes, and confirm the slab is dry and cured. New concrete needs its full cure before coating; painting too early and blaming the paint is a common pattern.
Metal
Metal fails from the inside out. Rust has to come off down to sound material, not just be painted over, and the edges of any remaining rust need feathering so corrosion cannot creep under the film. Degrease before abrading so you do not grind oil into the profile, then apply a corrosion-inhibitive primer. Once the surface is prepped, these steps show how to protect exterior paint from salt air.
Safety, Dust Control, and Handling Hazardous Old Coatings
Preparation generates dust and, on older buildings, can disturb coatings that contain lead or other hazardous materials. Treat any pre-1978 coating as suspect until tested, and follow current federal guidance on lead-safe work practices from the EPA's lead-safe renovation program before you scrape or sand.
Wear eye protection, a respirator rated for the dust you are generating, and gloves. For solvent-based products, follow the OSHA hazard communication guidance on ventilation and storage, and keep the data sheets on hand for every product you open.
How to Verify Your Surface Is Ready to Paint
Run this checklist before the first coat goes on. If any line fails, fix it before you prime.
- Surface is fully dry, with no damp patches in shaded areas
- No chalky residue comes off on a dry hand wipe
- No loose, cracked, or blistered coating remains
The hand-wipe test is the one most people skip and the one that catches the most problems. If chalk transfers to your palm, the surface still needs washing, no matter how clean it looks.
If you are unsure whether your prep is adequate, a professional assessment can help. Contact Signature Coastal Coatings for a free estimate.
Your Next Step Toward a Finish That Lasts
The hardest part of surface prep is not knowing what to do. It is doing all of it, in order, on a schedule, without cutting the corners that only show up two seasons later.
Signature Coastal Coatings is a veteran-owned painting company that values meticulous surface preparation and a limited project load so quality stays consistent.
Request a free estimate from Signature Coastal Coatings to talk through your project.
Frequently Asked Questions
What happens if you paint without preparing the surface?
Paint applied over dirt, grease, loose wood fibers, or chalky residue cannot bond properly. The result is peeling, cracking, blistering, or flaking within months instead of years. On coastal exteriors, salt film and humidity make adhesion even more fragile. Skipping surface prep typically forces a full repaint sooner, which costs more than the preparation would have. A clean, sound, and properly sanded surface is the only reliable base for a long-lasting coating.
Do you have to sand a surface before painting?
Not every surface needs aggressive sanding, but some abrasion is almost always required. Sanding before painting removes loose fibers, smooths imperfections, and creates a profile that primer and topcoat can grip. On glossy surfaces, dulling the finish is essential. On weathered wood or stucco, spot sanding plus scraping may be enough. A simple test: if the surface feels slick or chalky, it needs attention before paint goes on.
How clean does a surface need to be before painting?
Clean enough that a white cloth wiped across it stays white. Dust, dirt, grease, pollen, and salt film all interfere with paint adhesion. Wash exterior surfaces with a suitable cleaner, rinse thoroughly, and let them dry completely. Pay extra attention to areas near kitchens, grills, or coastal spray zones where grease and salt accumulate. If you can see or feel a film, the surface is not ready for primer or paint.
When should you use primer after surface preparation?
Primer after surface preparation is most valuable when the surface is bare wood, patched drywall, or previously painted with a different type of coating. It also helps when you are painting over a darker color with a lighter one, or when the existing surface is chalky or uneven. Not every job needs a full primer coat, but a stain-blocking or bonding primer often extends the life of the topcoat, especially in humid coastal conditions.
How long should a surface dry before painting?
Drying time depends on the material, the cleaner used, and the weather. After washing, most exterior surfaces need at least 24 to 48 hours of dry weather before painting. Wood and stucco may need longer if humidity is high. A moisture meter gives a definitive answer: wood should read below 15 percent moisture content, and masonry should be fully cured and dry. If the surface feels cool or damp to the touch, wait.
What is the 70/30 rule in painting?
The 70/30 rule is a shorthand some painters use to describe how much of a lasting paint job comes from preparation versus application. Roughly 70 percent of durability depends on surface prep, and 30 percent on the paint and application itself. The exact split is not scientific, but the principle holds: no premium coating will perform if the surface underneath is dirty, loose, or damp. Preparation quality drives adhesion and paint lifespan.