 how-to
Protect Exterior Paint From Salt Air: 7 Steps
Table of Contents
- How Salt Air Damages Exterior Paint and Metal
- Step 1: Inspect Your Exterior for Salt Damage and Corrosion
- Step 2: How to Wash Salt Off House Siding Safely
- Step 3: How to Prepare Exterior Walls for Painting
- Step 4: Choose the Best Exterior Paint for Coastal Homes
- Step 5: Apply Protective Coatings and Clear Coat
- Step 6: How Often to Repaint a Coastal Home
- Frequently Asked Questions
Last Updated: October 12, 2026
How Salt Air Damages Exterior Paint and Metal
Salt air is one of the harshest environments for exterior paint and metal, which is why knowing how to protect exterior paint salt air is essential for coastal homeowners.
Salt deposits settle on exterior walls, roof, metal fixtures, and trim, absorbing moisture from humid air and creating a corrosive environment.
Salt crystals trap moisture, and that reaction accelerates corrosion.
Damage starts small, chalky residue, peeling paint edges, rust spots on metal, then spreads quickly. Left untreated, it leads to interior moisture problems and expensive structural repairs.
This is why how to protect exterior paint from salt air matters so much for coastal homeowners. The right approach stops damage before it starts.
Step 1: Inspect Your Exterior for Salt Damage and Corrosion
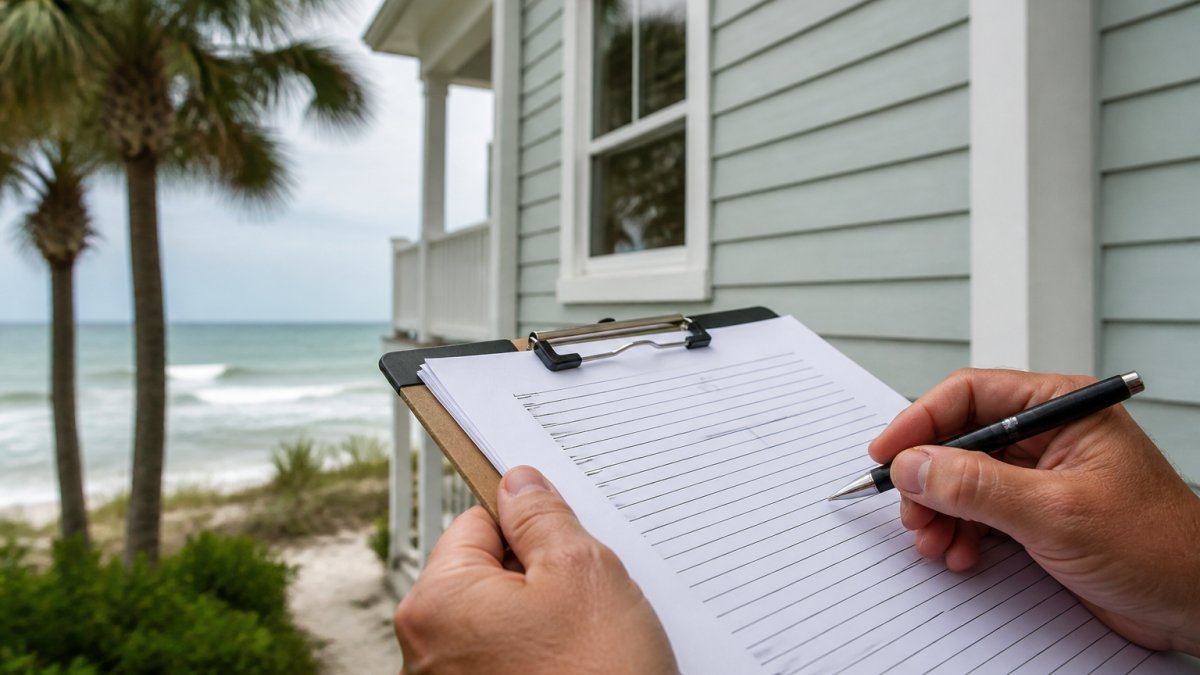
Inspect every exterior surface for signs that salt damage is underway. Early detection stops the problem before it spreads.
Walk the whole exterior and check:
- Metal gutters, downspouts, and flashing
- Door and window frames
- Metal railings and gates
- Exposed fasteners and hardware
- Areas where water pools or runs down the wall
- Corners and edges where salt deposits concentrate
Watch for these signs:
- White, chalky residue on painted surfaces
- Peeling or bubbling paint
- Rust spots on metal components
- Discoloration or staining on siding
- Paint that feels sticky or tacky
- Areas where paint has become dull or faded
Pay special attention to the windward side, where salt spray hits hardest, roof lines, exterior corners, and areas exposed to direct ocean wind.
Document what you find with photos and notes on location and severity to prioritize repairs and plan your protective strategy.
Address active rust on metal immediately. Rust spreads, and small spots become large problem areas fast.
Step 2: How to Wash Salt Off House Siding Safely
Use fresh water only, never salt or recycled water. Fresh water dissolves salt deposits; salt water adds to the problem.
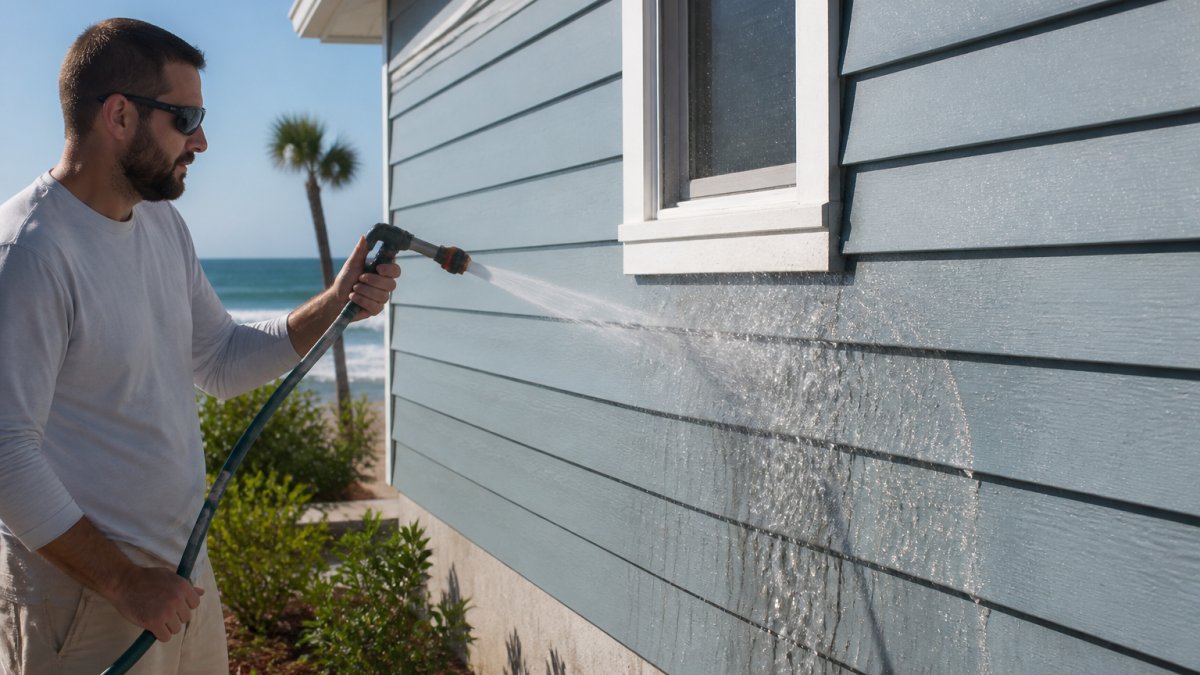
Here's the basic process:
- Use a garden hose with moderate pressure
- Start at the top of the wall and work downward
- Rinse all surfaces: siding, trim, metal fixtures, gutters
- Pay extra attention to corners and crevices where salt collects
- Let the water run until it flows clear
For heavy buildup, gently scrub with a soft-bristle brush while rinsing.
For metal gutters and hardware, slightly more pressure is fine. Rinse thoroughly to remove all salt residue.
Rinse after heavy rain, ocean winds, or salt spray events.
Let surfaces dry completely before applying coatings or paint, trapped moisture causes adhesion problems and premature failure.
Step 3: How to Prepare Exterior Walls for Painting
Proper surface preparation determines whether new paint lasts 3 years or 10 years.
Sand the surface, 80-120 grit for rough areas, 150-200 grit for final smoothing.
Fill gaps and cracks with a quality exterior caulk rated for coastal environments.
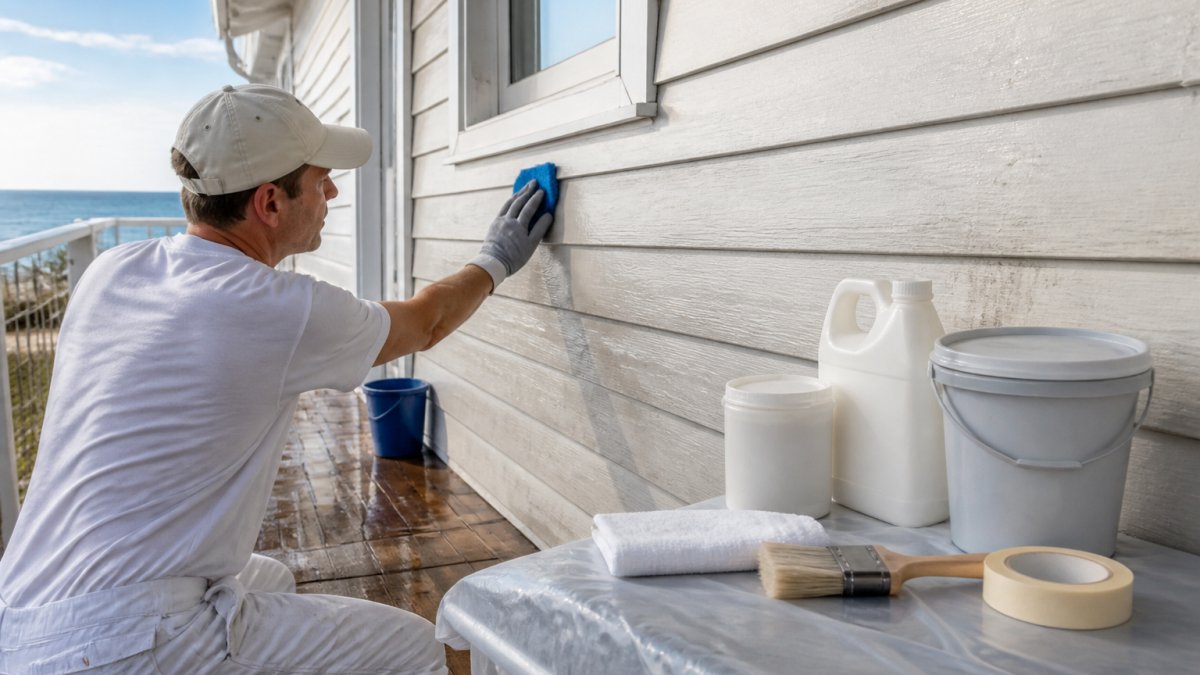
Clean everything with a damp cloth and let surfaces dry completely. Paint won't adhere to dusty or wet surfaces.
Prime any bare wood or metal. Primer seals the surface, improves adhesion, and prevents tannins from bleeding through.
It's tempting to skip prep and start painting.
Step 4: Choose the Best Exterior Paint for Coastal Homes
Paint selection is where most coastal repaint budgets are won or lost.
Read the technical data sheet, not the front of the can. The product data sheet (PDS) lists the numbers that actually predict salt-air performance:
- Resin/binder type. 100% acrylic latex (also labeled acrylic copolymer or 100% acrylic emulsion) is the standard for coastal exteriors. Acrylic binders resist UV degradation and stay flexible as temperatures swing, so the film moves with the siding instead of cracking. Oil-based and alkyd paints chalk and embrittle faster under salt and sun.
- Volume solids. This is the percentage of the can that becomes dry film. Higher volume solids generally means a thicker, more protective dry film per coat. A 100% acrylic exterior with higher volume solids will typically outlast a thin, low-solids product even if both say "premium."
- VOC and mildewcide package. Coastal humidity feeds mildew and algae. Look for a registered mildewcide in the formula and confirm the product is rated for exterior use in humid climates.
- Sheen. Sheen is a durability decision, not just a look. Gloss and semi-gloss form the tightest, most water-shedding film and are the right choice for trim, doors, railings, and any surface that gets direct spray. Satin is a reasonable middle ground for siding. Flat and matte hide surface imperfections but hold moisture and salt longer, so reserve them for sheltered areas or accept shorter service life.
Match the system to the substrate. A paint system is primer plus topcoat, and the two must be designed to work together.
- Painted wood and wood composite siding: an exterior acrylic primer followed by a 100% acrylic topcoat. On bare wood, a stain-blocking primer helps prevent extractive bleed-through.
- Fiber cement siding: follow the manufacturer's coating requirements. Many fiber cement makers specify 100% acrylic and require a primer coat on cut edges and field-cut ends, which are the first places salt-driven failure shows up.
- Stucco and masonry: these are porous and alkaline. Use a masonry-appropriate primer (often an alkali-resistant or block filler primer) before the topcoat. Skipping the primer lets salt-laden moisture wick through and pop the paint.
- Metal (gutters, flashing, railings, fasteners): use a direct-to-metal (DTM) acrylic or an epoxy primer plus a compatible topcoat. Standard house paint over bare metal is a short-term fix.
- Previously painted surfaces: confirm compatibility. You can usually recoat a cured latex with latex, but recoating an old oil-based film with latex without the right bonding primer invites peeling.
Understand the trade-offs. Premium 100% acrylic costs more per gallon, but labor is the same either way.
Do not overlook the small stuff. Salt attacks trim, shutters, garage doors, and light fixtures too.
Master Painters Institute (MPI) coating performance standards
Step 5: Apply Protective Coatings and Clear Coat
Paint alone isn't always enough in severe salt environments. Additional protective layers extend finish life and improve corrosion resistance.
A clear coat over your paint shields it from salt spray and UV rays.
For metal components, use a metal-specific protective coating.
Follow manufacturer instructions exactly, applying coatings at 50-85°F and humidity below 85%.
Apply thin, even coats. Multiple thin coats outperform one thick coat, which can sag, run, and fail prematurely.
Allow proper drying time between coats. Rushing traps moisture and creates adhesion problems.
Step 6: How Often to Repaint a Coastal Home
There's no single repaint interval for a coastal home, "coastal" covers everything from the dune line to a mile inland behind a tree line. Estimate your exposure level, then set a matching maintenance schedule.
Estimate your exposure level. Four variables drive how fast salt accumulates:
- Distance from the shore. Homes within the first block or two of open water take direct aerosol spray and degrade fastest. Each additional block and intervening structure reduces salt loading.
- Wind direction and onshore flow. The wall facing prevailing onshore wind collects far more salt than the leeward wall. On many properties, one or two elevations fail years before the others.
- Rainfall and rinse frequency. Regular rain washes salt off naturally. In dry, windy stretches, salt stays on the surface pulling moisture into the film, so drier coastal climates need more manual rinsing.
- Shelter. Covered porches, deep overhangs, dense landscaping, and neighboring buildings block spray. Exposed corners, gable ends, and parapets take the worst of it.
Translate exposure into a schedule. A practical pattern many coastal painters use:
- High exposure (open water frontage, direct onshore wind, little shelter): inspect the worst elevations at least twice a year and plan on a full repaint in the shorter end of the range, often every 3-5 years for the exposed walls.
- Moderate exposure (a few blocks inland, partial shelter): annual inspection, full repaint commonly every 5-7 years.
- Low exposure (well inland, heavily sheltered, reliable rainfall): annual inspection, repaint often every 7-10 years, with the understanding that the exposed elevation may need attention sooner.
These are planning ranges, not guarantees.
Inspect on a calendar, not on a feeling. Pick two dates a year, commonly spring and fall, and walk the exterior the same way each time, checking:
- Chalking. Light powder that wipes off is normal weathering. Chalk that won't rinse away or redeposits on trim and windows signals the binder is breaking down.
- Blistering and bubbling. Usually means trapped moisture from a failed caulk joint, leak, or painting over a damp surface. Fix the water source before repainting.
- Peeling and flaking. Note whether it's at edges and joints (adhesion or caulk failure) or in the wall field (coating failure or substrate moisture).
- Rust staining. Orange or brown streaks below fasteners, railings, or gutters point to corroding metal bleeding onto the paint. Treat the metal, not just the stain.
- Color fade and gloss loss. Compare a sheltered area to an exposed area of the same wall. A visible difference means the exposed film is degrading.
- Mildew and algae. Dark green or black film that reappears quickly after cleaning indicates inadequate mildew resistance.
Use spot maintenance to stretch the full repaint. Touch-ups are the cheapest way to delay a whole-house repaint:
- Treat small rust spots on metal as soon as you see them. Sand to bare metal, apply a rust-inhibiting primer, and topcoat with a matching DTM or trim paint.
- Re-caulk failed joints before water gets behind the film. Use an exterior caulk rated for the substrate and for coastal movement.
- Recoat the clear coat or sacrificial topcoat on the most exposed elevations on its own cycle, which is typically shorter than the paint cycle.
- Repaint individual elevations instead of the whole house when only one wall is failing. This is common on the windward side.
Know when spot work is no longer enough. Once peeling, blistering, or chalking spreads beyond isolated areas, or the film fails across a whole elevation, spot repairs stop being cost-effective.
Frequently Asked Questions
How can you protect exterior paint from salt air?
Protect exterior paint from salt air by rinsing surfaces regularly with fresh water to remove salt deposits, applying protective coatings like marine-grade sealants or ceramic coatings, and using high-quality exterior paint formulated for coastal exposure. Inspect your home quarterly for early damage, treat bare metal areas promptly with corrosion inhibitors, and plan repainting every 3-5 years depending on exposure. A clear coat over your paint provides an additional protective barrier against salt buildup and corrosion.
What type of exterior paint holds up best in humid coastal conditions?
The best exterior paint for coastal homes uses 100% acrylic latex formulations that resist salt deposits and moisture penetration. Pair your paint choice with a quality sealant or ceramic coating to maximize protection against salt air and humidity.
How often should a coastal home exterior be washed?
Wash coastal home exteriors every 6-8 weeks to remove salt deposits, bird droppings, and surface contaminants before they bond to the paint. In heavy salt exposure areas near the ocean, increase washing frequency to monthly. Use fresh water and mild detergent, avoiding high-pressure washers that can force salt deeper into cracks. Regular rinsing prevents salt buildup from accelerating paint damage and corrosion on metal fixtures, extending your paint's lifespan significantly.
What are the signs that exterior paint is failing from salt exposure?
Warning signs include peeling or blistering paint, chalky residue on surfaces, discoloration or fading in patches, visible rust on metal components, and bare metal showing through the paint. Salt air causes paint bonding to fail, especially around windows, doors, and metal trim where salt deposits accumulate. Early damage appears within 1-2 years in high-exposure zones. Inspect your home quarterly and address damaged areas immediately by cleaning, priming, and repainting to prevent corrosion from spreading to underlying surfaces.